Onboarding
Get started with Msty Studio
These onboarding instructions are meant for new Msty Studio users. If you are an existing Msty App v1.x and Aurum subscriber, please check out the Quick Start guide.
Getting Started Video Guide
Msty Studio Desktop Onboarding Instructions
You can get started with Msty Studio Desktop for FREE.
- Download Msty Studio Desktop
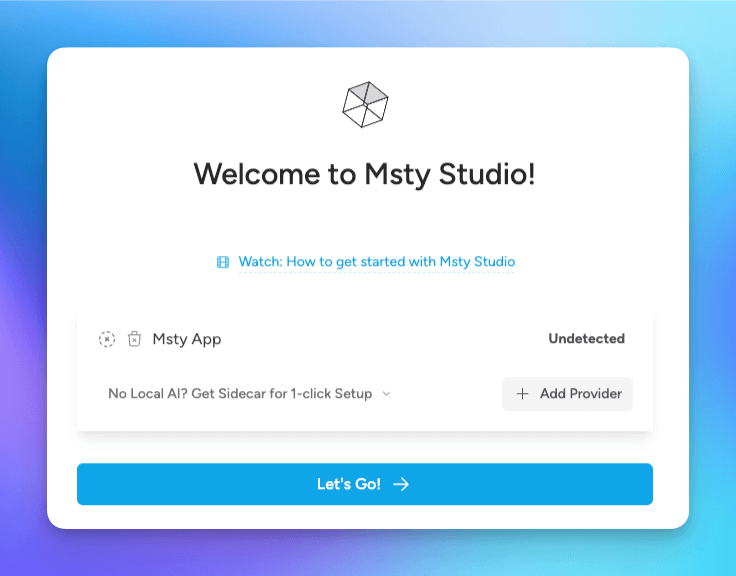
- On initial launch, you'll be asked how you'd like to proceed - either with using existing local models, setting up a new local model, or adding an API key for an online provider. The quickest way to get started is to proceed with a local model. You can add additional local and online models later.
- Once you have your Remote or Local Provider set up, click on Let's Go!
Msty Studio installs a separate instance of Ollama when setting up Local AI Services. This is to allow Msty Studio to have control over Ollama, allowing Msty to manage models, version updates, etc. If you have Ollama and do not want Msty Studio to manage Ollama, you can add Ollama as a Remote Provider (remote meaning separate from Msty, but may still be running on local machine) by selecting Ollama in the dropdown. This will allow you to use Ollama models you have setup without Msty having management access over Ollama.
Install Local AI From Archive file
During onboarding (and from Settings > Local AI > Services Version) you choose to setup an earlier version of Ollama if you do not want to use the latest version, which is what Msty Studio will install when setting up Local AI Services.
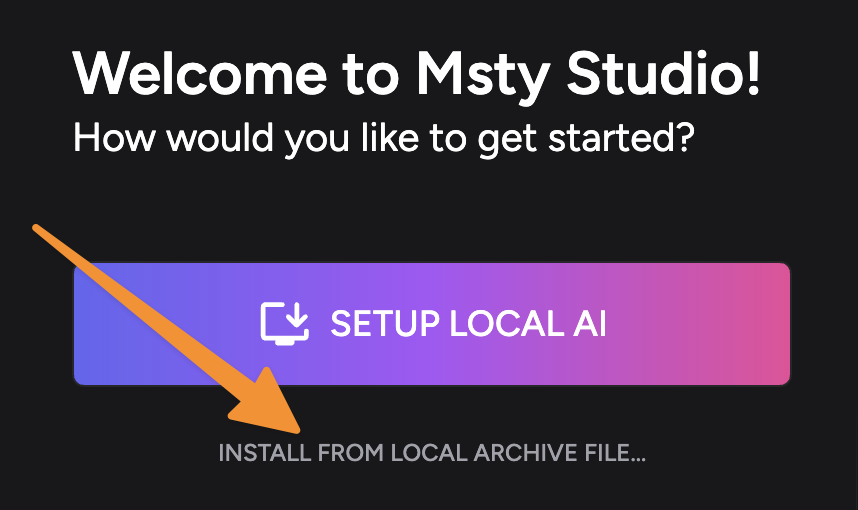
To install from an archive file, select the option as seen in the image above.
You'll want to have an archive file ready. You can download one from the Ollama Version Archives by downloading the appropriate file for your Operating System from the verion > assets section.
Select the archived file from the file selection window and Msty Studio will install using the selected file.
If you see an error during Local AI Services setup, try this option as an alternative method to install Local AI Services.
Msty Studio Web Onboarding Instructions Aurum Perk
- Purchase an Aurum license if you haven't already and keep your license key handy
- Open a browser and navigate to Msty Studio at https://msty.studio
- Enter your license key and click Next
- You'll now have a few options on how you can proceed. In order to make use of Msty, you will need to add either a local or remote model provider.
- To add a Remote Provider, click Add Provider. There are many available options, such as OpenAI, Claude, and Gemini. You will first need an API Key from the desired provider in order to add the remote provider to Msty.
- Once you have your Remote or Local Provider set up, click on Let's Go!
Safari user? Safari is not directly supported by Msty Studio however there is a workaround using Remote Connections by leveraging the tunneling feature.
Related Resources
Videos
